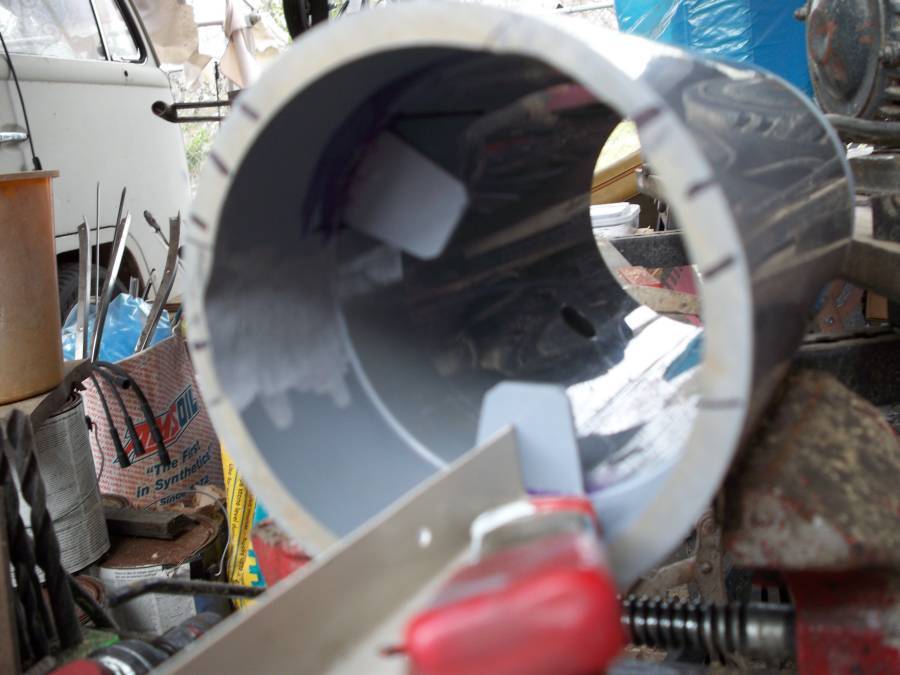
Installing the second tab that will hold the toroid coil in place the proper distance above the electrodes. All in all
three tabs are called for in the plans. Note the 1/8 inch of material we removed to allow clearance for the toroid
coil. It still would not fit due to some irregular areas so we ground away some extra material in key areas. This will
be blended in in the next few steps and a CPVC splicing collar will be glued over this area to add extra thickness to
maintain structural integrity. As well as adding thickness to make up for the material we remove, the splicing collar
will allow us to add a threaded CPVC end to facilitate disassembly of the top in case some parts need servicing such as
the float switch. In the original plans the end cap is glued into place. Should a part fail, such as the float switch,
we would not be able to open the unit for repairs. Considering the toroid coil, a part that should never wear out or
need servicing, is permanently mounted in this tube, we don't want this section to be lost due to an unforeseen
mechanical problem. Adding a threaded end cap instead of using the glued version called for in the original plans
guarantees that we can open and service this unit any time.